Polished Concrete Sheen Levels: What You Need to Know
Choosing the right finish for your floors can dramatically impact a space’s look and functionality. Whether you’re renovating a home or designing a commercial property, understanding how surface treatments work is essential. The process involves grinding and refining to achieve different visual effects, categorized into four distinct classifications.
These classifications range from understated matte appearances to glossy, high-reflective surfaces. The outcome depends on the tools and methods used during refinement. For example, coarser abrasives create subtle textures, while finer materials produce radiant results. Professionals in South Florida often tailor their approach to account for regional factors like humidity and foot traffic patterns.
Your selection affects more than just aesthetics. It influences long-term upkeep, safety features, and how light interacts with the environment. Industry guidelines ensure consistency, helping you align your project with proven standards. With proper execution, your floors can balance style and practicality seamlessly.
Key Takeaways
- Four standardized classifications (1-4) define floor finishes from matte to mirror-like
- Diamond grit size and polishing steps directly affect surface reflectivity
- Finish selection impacts maintenance needs, safety, and lighting efficiency
- Regional climate considerations influence ideal choices for South Florida projects
- Certified professionals ensure adherence to industry benchmarks for quality results
Fundamentals of Polished Concrete Floors

Transforming ordinary slabs into refined surfaces requires mastering three core elements. The process begins with mechanical grinding using specialized tools, followed by precise polishing techniques. Each step influences durability, appearance, and maintenance needs.
An Overview of Concrete Finishes
Surface treatments start with removing old coatings or damaged layers. Professionals use diamond-embedded abrasives in two phases: coarse metal-bonded tools for initial grinding, then finer resin-bonded discs for polishing. This creates a smooth base ready for final refinement.
Four aggregate exposure classes determine visual texture. Class A shows minimal stone particles, while Class D reveals 1/4-inch aggregates. Your choice affects slip resistance and decorative potential.
Key Terms: Grit, Gloss, and Aggregate Exposure
Grit numbers (50 to 3000) indicate abrasive coarseness. Lower numbers create textured surfaces, higher values produce reflective finishes. Here’s how grit progression works:
- 50-200 grit: Removes imperfections
- 400-800 grit: Starts refining
- 1500-3000 grit: Creates shine
Gloss measurements use light reflection percentages. Matte finishes range 20-30%, while high-shine surfaces hit 70-80%. Pairing these factors with aggregate exposure helps balance aesthetics with practical needs like foot traffic resistance.
Understanding Polished Concrete Sheen Levels
Selecting the appropriate gloss for your surface impacts both aesthetics and practicality. Four standardized options exist, each offering distinct visual effects and functional benefits. This classification system helps professionals and property owners align expectations with real-world results.

The Gloss Scale: From Subtle to Striking
Surface treatments range from understated textures to high-intensity reflections. Here’s how the industry categorizes these finishes:
| Level | Grit Range | Finish Type | Best For |
|---|---|---|---|
| 1 | Below 100 | Flat | Warehouses, garages |
| 2 | 400 | Satin | Homes, lobbies |
| 3 | 800+ | Semi-Polished | Stores, offices |
| 4 | 3000 | Mirror | Galleries, luxury spaces |
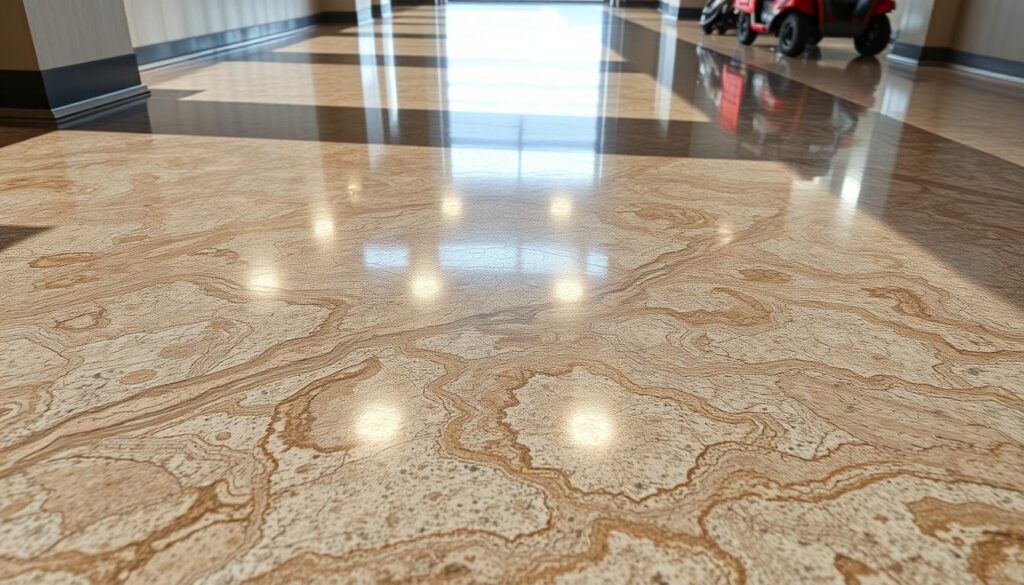
Matte surfaces (Level 1-2) reduce glare in high-traffic areas. Reflective options (Level 3-4) amplify natural light but require more upkeep. Retail environments often benefit from semi-polished surfaces that balance visibility with slip resistance.
Shaping Surface Appearance Through Refinement

The number of abrasive passes determines final results. More passes with finer grits create smoother surfaces:
| Target Finish | Minimum Passes | Grit Progression |
|---|---|---|
| Flat | 4 | 50-200 |
| Satin | 5 | 200-400 |
| Semi-Polished | 6 | 800-1500 |
| Mirror | 7 | 3000+ |
Each progression removes microscopic imperfections. High-shine surfaces demand precise equipment handling to avoid uneven results. Discuss traffic patterns and cleaning routines with contractors to choose sustainable options.
Techniques and Process for Achieving the Perfect Finish
Mastering floor refinement requires precision in tool selection and technique execution. The right approach balances material science with practical skill, ensuring surfaces meet both design goals and functional demands.
Selecting the Ideal Diamond Grit
Start with coarse metal-bonded tools (50-200 grit) to remove imperfections. Gradually transition to resin-bonded diamonds (400-3000 grit) for smoothing. This progression ensures efficient material removal while minimizing surface stress.
| Stage | Tool Type | Grit Range | Purpose |
|---|---|---|---|
| Initial | Metal-bonded | 50-200 | Surface leveling |
| Intermediate | Hybrid | 400-800 | Scratch removal |
| Final | Resin-bonded | 1500-3000 | Reflective finish |
Navigating Aggregate Exposure Options for Durability

Aggregate exposure classes determine how much stone becomes visible. Class A finishes preserve surface integrity but hide flaws, while Class D reveals 1/4-inch stones for enhanced texture.
- Class A: Minimal cutting (ideal for new slabs)
- Class D: Deep exposure (requires flawless substrates)
Expert Tips from National Concrete Polishing
South Florida contractors recommend these strategies:
- Assess slab quality before choosing sheen levels
- Control workspace humidity during refinement
- Use variable-speed grinders to prevent burn marks
Proper tool maintenance ensures consistent results. Allow adequate drying time between stages in humid climates to avoid hazy finishes.
Conclusion
Your flooring decisions shape a space’s atmosphere and operational efficiency. The four-tier classification system simplifies selecting surface treatments that match your design goals and foot traffic needs. By balancing grit progression with aggregate exposure, you achieve finishes ranging from subtle matte textures to high-gloss reflections. These choices directly influence light reflectivity, maintenance routines, and long-term durability.
Professionals like National Concrete Polishing combine technical expertise with regional knowledge to deliver optimal results. Their understanding of diamond tool applications ensures proper surface refinement, particularly in humid climates. When planning your project, discuss abrasive passes and resin bonds with contractors to align expectations with practical outcomes. This collaborative approach maximizes your investment while creating floors that maintain their appeal for years.
FAQ
How do grit levels affect the final appearance of my floor?
Grit levels determine how much light reflects off the surface. Lower grits create a matte look, while higher grits increase shine. The process involves grinding with coarse to fine diamonds to achieve your desired balance of texture and gloss.
What’s the difference between matte, satin, and high-gloss finishes?
Matte has minimal light reflection, offering a natural, textured look. Satin provides a soft glow with moderate reflectivity. High-gloss delivers a mirror-like shine, ideal for spaces where brightness and sleek aesthetics matter.
Why does aggregate exposure impact durability?
Exposing larger aggregates creates a rugged surface that resists wear, perfect for high-traffic areas. Less exposure leaves the cream layer intact, which is smoother but may require more maintenance over time.
How do resin bonds influence the polishing process?
Resin-bond diamonds cut faster and are ideal for initial grinding stages. They help remove imperfections and prepare the surface for finer grits. Metal-bond tools are often used later for refining the shine.
Can lighting affect how my floor’s sheen appears?
Yes. Bright lighting enhances gloss levels, making reflections sharper. Dimmer spaces may make even high-gloss finishes look subtler. Consider your room’s natural and artificial light when choosing a sheen level.
What’s the best way to maintain a satin finish?
Use pH-neutral cleaners and avoid abrasive tools. Regularly dust-mop to prevent grit from scratching the surface. Reapply a protective sealer every few years to preserve the soft luster.
You might also like