Epoxy Floor Recoat Process: A Step-by-Step Guide
Your garage or workspace deserves a surface that looks sharp and stands up to daily wear. Over time, even the toughest protective layers can lose their luster due to spills, scratches, or heavy equipment. That’s where a fresh layer of coating comes in—a practical way to revive your space without the hassle of a full replacement.
Many homeowners don’t realize their existing two-part resin systems can often accept new coatings. Whether you’re dealing with stains, scuff marks, or faded color, this approach offers a budget-friendly solution. The secret lies in proper prep work and choosing materials that bond seamlessly with what’s already there.
From workshops to industrial settings, this method works wherever durability matters. You’ll save money compared to tearing out old surfaces, and the results can look brand-new. Always check with product experts first to confirm compatibility—this step ensures your efforts pay off long-term.
Key Takeaways
- Restoring worn surfaces is cost-effective compared to full replacements
- Proper cleaning and prep ensure new coatings adhere correctly
- Compatibility with existing resin systems is critical for success
- This method solves stains, scratches, and color fading issues
- Works for residential, commercial, and industrial spaces
- Consult manufacturers to verify product suitability
Overview of Epoxy Coatings and Their Durability
Modern spaces demand materials that combine strength with easy upkeep. High-performance resin-based systems excel in environments where spills, heavy equipment, and foot traffic test surfaces daily. These solutions work equally well in auto shops, commercial kitchens, and retail spaces.
Key Characteristics of Industrial-Grade Surfaces
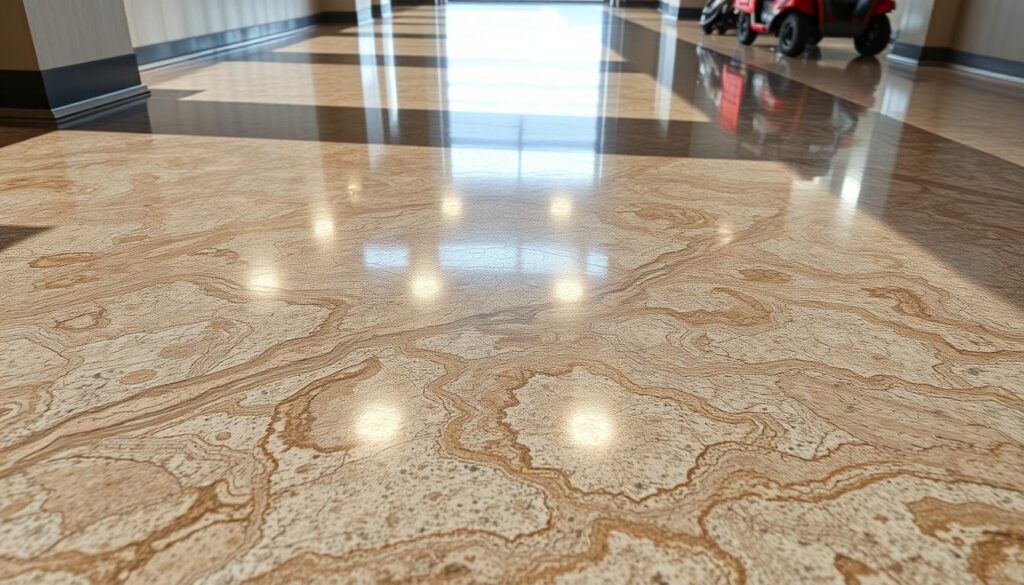
Top-tier protective layers bond tightly to substrates like concrete, creating surfaces harder than natural materials. This makes them ideal for workshops or warehouses. Chemical resistance prevents damage from oils, solvents, and cleaning agents.
Maintenance requires minimal effort:
- Daily: Sweep or mop to remove abrasive particles
- Weekly: Scrub with pH-neutral cleaners
- Annually: Inspect for deep scratches or stains
Maintaining Performance Over Time
Even robust surfaces show subtle changes after years of use. You might notice slight dullness or hairline scratches in high-traffic zones. Proper care prevents minor wear from becoming major issues.
Many commercial spaces pair these systems with polyurethane or polyaspartic topcoats for enhanced UV resistance. This strategic layering extends service life while keeping replacement costs low. Compared to traditional options, you save significantly on long-term upkeep.
Essential Preparation for a New Coat
Proper groundwork determines the longevity of your protective layers. Without meticulous attention to texture and cleanliness, even premium materials won’t bond correctly. Focus on creating an ideal foundation for adhesion while preserving the integrity of existing surfaces.
Sanding Techniques for Optimal Adhesion
Start with 120-grit abrasive paper on orbital tools to degloss the area. For expansive spaces like garages, rent a buffer equipped with 100-grit screens—this speeds up coverage without compromising results. The goal is uniform roughness, not deep material removal. Older surfaces may require 60-80 grit screens to address stubborn scratches or embedded contaminants.
Cleaning and Debris Removal Methods
After sanding, eliminate particles systematically. Sweep loose debris first, then use a shop vacuum for finer residues. Wipe the concrete with denatured alcohol using microfiber tools—this removes invisible dust that could weaken bonding. For stubborn oil spots, apply degreasers before final rinsing.
Always test moisture levels before proceeding. Residual dampness or hidden contaminants can sabotage your efforts. These steps ensure your garage’s surface becomes a blank canvas ready for transformation.
Mastering the epoxy floor recoat process
A successful restoration project begins with careful assessment and smart material choices. Proper evaluation ensures your efforts yield lasting results while avoiding wasted time and resources.
Evaluating the Existing Surface Condition
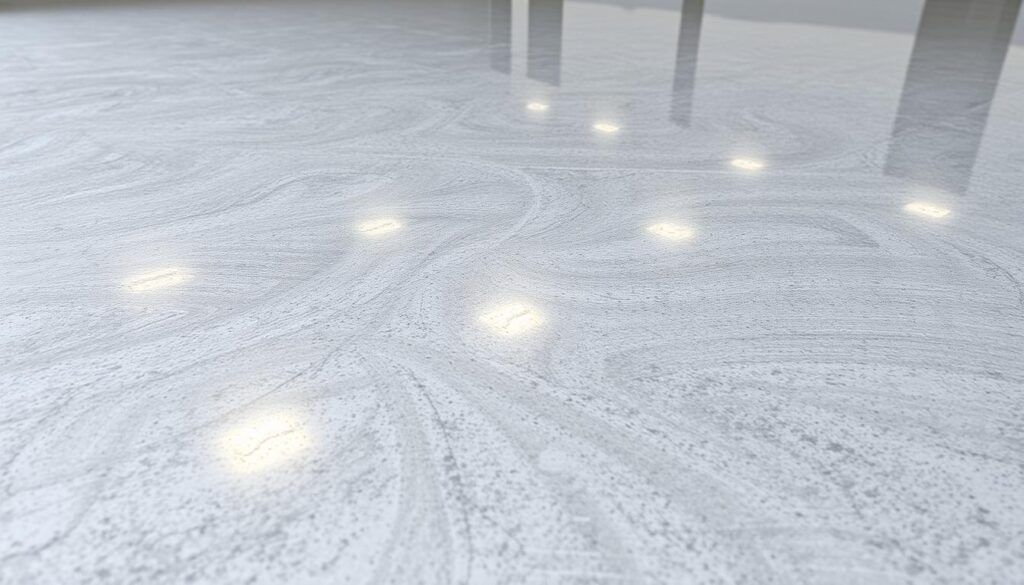
Start by inspecting every square foot for adhesion issues. Run a putty knife across suspicious areas—if the coating lifts easily, complete removal becomes necessary. Check for web-like cracks wider than hairline fractures or sections where the material separates from the concrete base.
Shine a bright light at low angles to spot uneven textures. These hidden flaws can prevent proper bonding. Document problem zones with tape or chalk for targeted treatment later.
Selecting the Right Recoat Materials
Match new products to your existing system’s chemistry. Water-based formulas often work over solvent-based layers, but reverse combinations may fail. Always verify compatibility using the manufacturer’s technical documents.
| Surface Issue | Assessment Method | Recommended Solution |
|---|---|---|
| Minor scratches | Visual inspection | Light sanding + compatible topcoat |
| Peeling edges | Adhesion test | Full removal with grinder |
| Rough texture | Hand glide test | Leveling primer application |
For spaces needing extra chemical resistance, consider polyurethane additives. These specialty products extend service life while maintaining visual appeal. When in doubt, request sample kits to test adhesion before full application.
Application Techniques and Curing Process
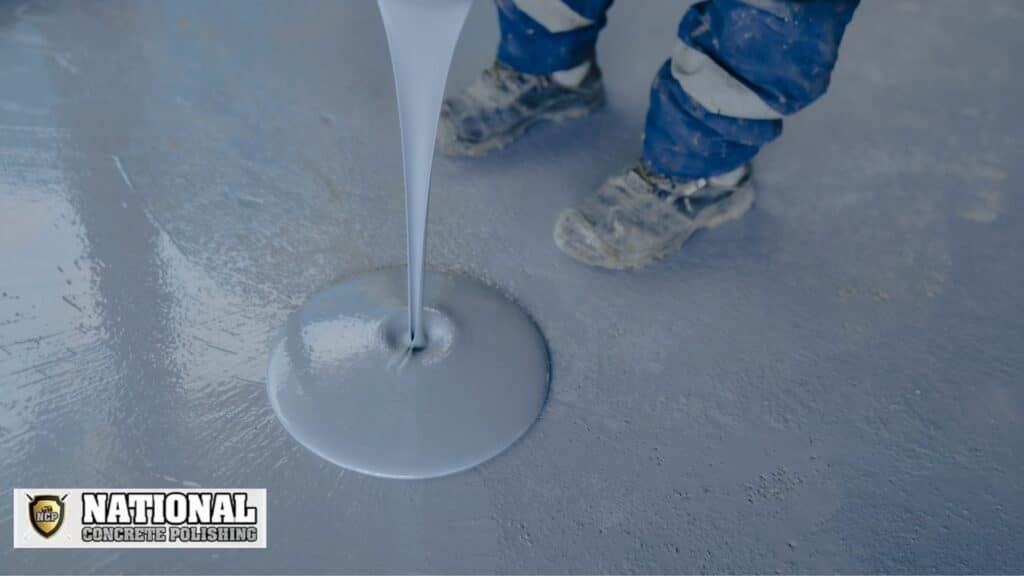
Transforming your space starts with precise execution during the final stages. Proper material handling ensures lasting protection and visual appeal for your garage or workspace. Let’s break down the critical steps to achieve flawless results.
Mixing and Spreading the Epoxy Mixture
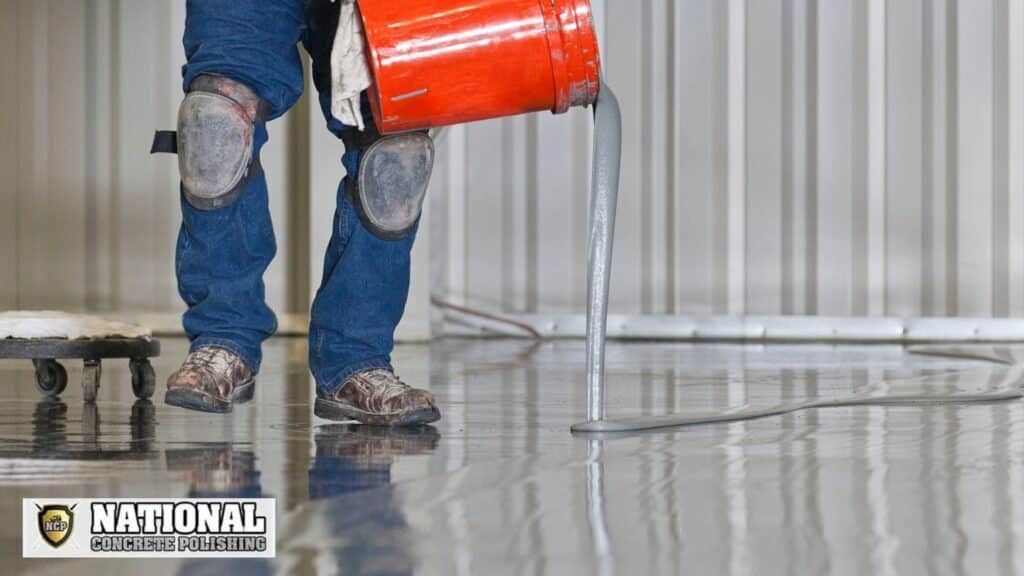
Begin by combining Parts A and B exactly as your manufacturer specifies. Use a low-speed drill with a mixing paddle for 3-5 minutes until streaks disappear. Pour thin ribbons of material across small sections – this prevents premature curing in large batches.
| Temperature Range | Mixing Ratio | Pot Life |
|---|---|---|
| 60-75°F | 2:1 by volume | 45 minutes |
| 76-90°F | 2:1.1 by volume | 30 minutes |
| Below 60°F | Consult manual | Varies |
Tools and Methods for a Smooth Application
Choose ¼” nap rollers designed for viscous coatings. Work from corners outward using overlapping W-shaped strokes. Maintain wet edges to avoid lap marks – recoat areas within 30 minutes or wait until fully cured.
Control environmental factors carefully. Keep garage doors closed during application to minimize dust. Ideal conditions range between 65-80°F with 40-60% humidity. Curing typically takes 24-72 hours depending on product specs.
Resist walking on the surface for at least 18 hours. Full chemical resistance develops after 7 days. Follow these guidelines to create durable, professional-grade finishes that withstand workshop demands.
Troubleshooting Common Recoat Issues
Even with careful preparation, challenges can arise when refreshing protective layers. Recognizing early warning signs helps prevent costly mistakes. Let’s explore solutions for maintaining your space’s functionality and appearance.
Identifying Problems: Peeling, Bubbles, and Unevenness
Peeling often signals poor adhesion due to contamination or inadequate sanding. Bubbles typically form when moisture gets trapped beneath the layer. Uneven textures usually stem from rushed application or improper mixing ratios.
Check for lifting edges using a plastic scraper. Inspect dimpled areas under bright lighting to spot trapped air pockets. Document these zones with painter’s tape for targeted repairs.
Strategies for Correcting Surface Imperfections
For peeling sections, sand down to stable material and apply bonding primer. Pop bubbles with a pin, then smooth the area using a fine-grit sanding block. Level uneven spots with a razor-edged trowel before adding thin, even coats.
Always let each layer cure fully before addressing subsequent issues. Consult product guides for temperature-specific drying times. These fixes restore durability while preserving your garage’s polished finish.
FAQ
How often should you apply a new layer to maintain durability?
Most surfaces benefit from a fresh coat every 3–5 years, depending on foot traffic and wear. High-traffic areas like garages may need recoating sooner if scratches or fading appear.
Do you need to sand the existing finish before adding another coat?
Yes. Light sanding with a diamond sander or abrasive pad ensures proper adhesion. Skipping this step can lead to peeling or uneven results due to poor surface bonding.
What causes peeling or bubbles after recoating?
Peeling often stems from inadequate cleaning or moisture trapped beneath the layer. Bubbles arise from improper mixing or applying the product too thickly. Always follow the manufacturer’s instructions for mixing ratios.
Can you use polyurethane over an existing coating?
Polyurethane can enhance gloss and UV resistance, but compatibility depends on the base material. Test a small area first, and opt for a polyaspartic hybrid if faster curing is needed.
How long does curing take before the surface is usable?
Most products require 24–72 hours for full curing. Humidity and temperature affect drying times—ensure proper ventilation and avoid foot traffic until fully hardened.
What’s the best way to fix uneven texture in the final layer?
Lightly sand rough spots with 220-grit paper, then apply a thin topcoat. For severe unevenness, consider a professional-grade leveling compound before recoating.
Are there alternatives to traditional two-part coatings?
Yes. Water-based options offer low odor and quicker drying, while polyaspartic blends provide extreme durability and faster cure times, ideal for time-sensitive projects.

