How to Remove Epoxy from Concrete Countertops
Concrete countertops gain durability from epoxy coatings , but removing this resilient resin demands precision. Whether refreshing old surfaces or correcting application errors, improper techniques risk scratches, stains, or structural harm.
Cured and uncured materials behave differently during cleanup. Fresh spills allow quicker solutions, while hardened layers often need mechanical or chemical intervention. Your countertop’s condition—age, coating thickness, and adhesion strength—dictates the safest removal strategy.
Preparation prevents headaches. Ventilate your workspace, wear gloves and goggles, and test methods in inconspicuous areas first. Professionals recommend assessing the project’s scope early: large-scale jobs might justify expert help to preserve your countertop’s integrity.
This guide simplifies the process. You’ll explore heat guns, solvents, and grinding tools while learning why surface compatibility matters. Balancing efficiency with caution ensures your concrete stays intact beneath stubborn resin layers.
Key Takeaways
- Epoxy removal requires tailored methods based on curing stage and surface bonding
- Safety gear and workspace prep minimize health risks and collateral damage
- Test removal techniques in hidden spots before full application
- Mechanical tools work best for thick layers; solvents suit smaller areas
- Consult professionals for extensive projects or uncertain surface conditions
Introduction and Overview
Epoxy coatings protect surfaces but eventually require renewal due to wear or design changes. When working with concrete countertops, balancing effective adhesive removal with surface preservation becomes critical. This section explores why resin extraction matters and what makes these projects uniquely demanding.
Understanding the Need for Epoxy Removal
Resin layers degrade over time, developing cracks or discoloration that compromise aesthetics and function. You might address peeling edges, moisture damage, or outdated finishes. Concrete’s porous structure allows deeper adhesive penetration than tile or metal, complicating extraction.
Challenges with Epoxy on Concrete Countertops
Material compatibility dictates success. Thermal expansion differences between epoxy and concrete create stress points. Aggressive scraping or harsh solvents can etch the surface or leave uneven textures. Consider these factors before starting:
| Factor | Uncured Epoxy | Cured Epoxy |
|---|---|---|
| Removal Difficulty | Moderate (solvent-responsive) | High (mechanical tools needed) |
| Time Sensitivity | 1-24 hours post-application | 72+ hours after hardening |
| Damage Risk | Low with prompt action | Elevated without proper technique |
Projects vary based on adhesive age and environmental conditions during application. Humidity levels during original installation affect bonding strength, influencing removal effort. Testing small areas helps identify effective methods without jeopardizing the entire surface.
Understanding How to Remove Epoxy from Concrete Countertops
Epoxy transforms concrete into resilient work surfaces through chemistry. This adhesive combines resin and hardener to create rock-solid bonds. Builders love it for sealing cracks and adding glossy protection. Homeowners appreciate its stain resistance and sleek appearance.
What Makes Epoxy Stick So Well?
The magic happens when two liquid components mix. Chemical cross-linking creates a mesh-like structure that grips concrete pores. Key benefits include:
- Waterproof barriers that prevent moisture damage
- Scratch-resistant surfaces lasting years
- Customizable colors for decorative finishes
The Cure Clock Matters
Working time versus full hardening determines your removal options. Fresh resin stays workable for minutes to hours. Fully cured material becomes nearly unbreakable. Check this comparison:
| Stage | Workability | Removal Approach |
|---|---|---|
| Uncured | Pliable, tacky | Solvent wipe |
| Partially cured | Rubbery | Plastic scrapers |
| Full cure | Glass-like | Heat + scraping |
Temperature changes everything. A heat gun’s 300°F-500°F blast softens hardened resin. Cooler spots might need chemical strippers. Always test your method first—concrete reacts differently to treatments based on its sealant and age.
Preparation and Safety Guidelines
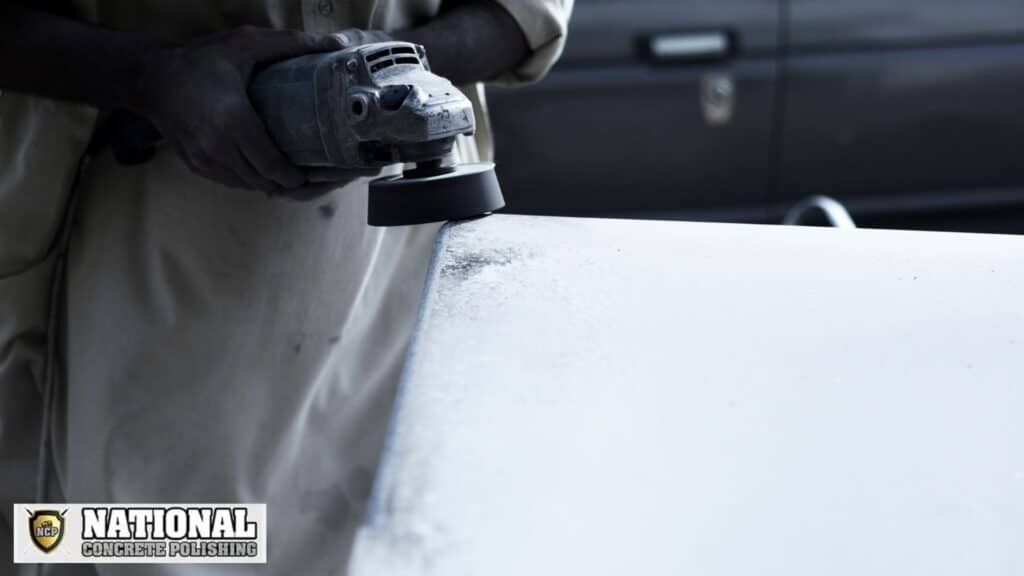
Proper setup determines project success. Whether tackling small spills or full resurfacing, having the right gear prevents accidents and ensures efficient resin removal.
Essential Tools and Materials
Gather these items before starting:
- Metal scrapers for thick deposits
- Plastic putty knives for delicate edges
- Clean cotton cloths for solvent application
- Acetone or paint thinner (check product compatibility)
- Heavy-duty trash bags for debris disposal
Important Safety Equipment and Precautions
Protective gear shields you from hazards:
- Acid-resistant gloves prevent chemical burns
- ANSI-approved goggles block flying particles
- NIOSH-rated respirators filter toxic fumes
Open windows or use fans to circulate air. Lay drop cloths around your workspace to catch drips. Always test solvents on hidden spots first—some formulas discolor surfaces.
Step-by-Step Epoxy Removal Process
Effective resin elimination combines strategy and precision. Start by evaluating adhesive thickness and bonding strength. Smaller sections respond well to targeted treatments, while extensive projects demand systematic workflows.
Chemical Methods and Solvent Use
Begin with acetone-soaked cloths on manageable spots. Let the solution penetrate for 10-15 minutes. Wipe softened material with firm strokes, replacing rags frequently. For resistant patches, escalate to toluene or methyl ethyl ketone (MEK) with these precautions:
- Operate in ventilated spaces with respirators
- Apply using brushes for controlled coverage
- Neutralize residues with pH-balanced cleaners
Mechanical and Heat-Assisted Techniques
Heat guns soften cured layers when held 6 inches from the surface. Scrape pliable resin with putty knives, angling blades to prevent gouging. Combine approaches using this progression:
| Tool | Best For | Time Per Section |
|---|---|---|
| Plastic scraper | Thin coatings | 5-8 minutes |
| Rotary grinder | Industrial-grade epoxies | 15-20 minutes |
| Infrared heater | Large floors | 30+ minutes |
Tailoring Methods to Your Project’s Scale
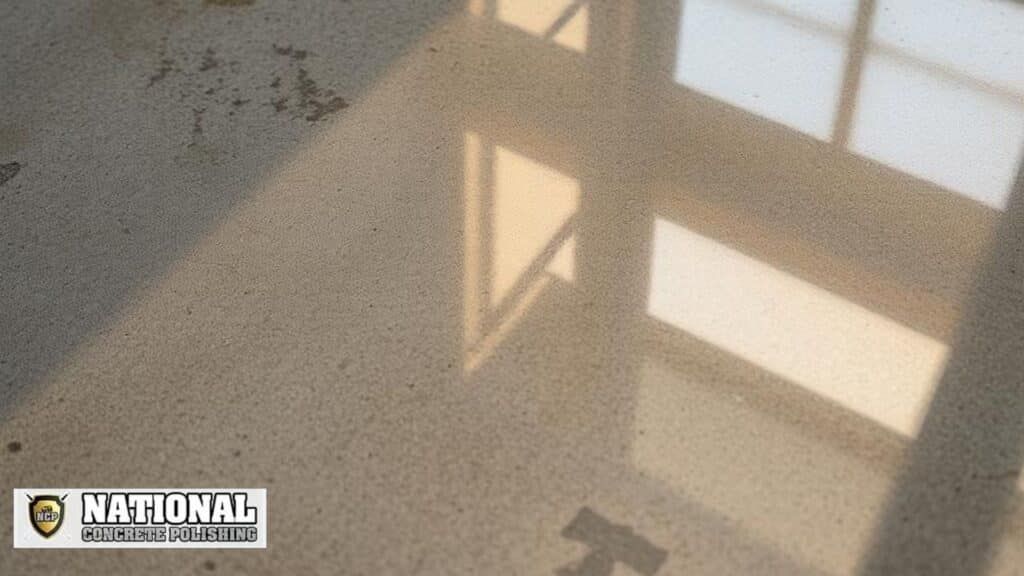
Prioritize efficiency without compromising surface integrity. Compact areas benefit from solvent-soaked pads, while open floors need walk-behind grinders. Consider these factors when scaling:
- Epoxy age impacts required dwell time
- Workspace size dictates equipment choices
- Residual debris affects post-cleaning steps
Document results after each phase. Adjust techniques based on adhesive response, switching between chemical and mechanical solutions as needed. Multiple passes often yield cleaner surfaces than single aggressive attempts.
Conclusion
Restoring concrete surfaces demands precision and knowledge of material interactions. Whether addressing hardened epoxy layers or recent spills, your project’s success hinges on method selection aligned with coating thickness and bonding strength.
Combining mechanical tools with chemical solutions often yields optimal results for stubborn applications. Prioritize ventilation and protective gear when handling solvents or grinders. Work systematically across small areas to maintain control over the process.
Professional expertise becomes crucial for valuable surfaces or complex installations. Companies like National Concrete Polishing employ industrial-grade equipment to preserve structural integrity during large-scale resin removal. Their South Florida team specializes in balancing efficiency with surface preservation.
This guide emphasizes adaptability—no single technique fits all scenarios. Assess cure stages, test methods discreetly, and adjust approaches as challenges emerge. With careful execution, you’ll renew your workspace while protecting the underlying concrete’s durability.
FAQ
What’s the difference between removing cured and uncured epoxy?
Uncured epoxy is softer and easier to wipe away with solvents like acetone or paint thinner. Cured epoxy requires mechanical scraping, heat tools, or stronger chemical removers to break down hardened adhesive bonds.
Can household items like vinegar work for epoxy removal?
Vinegar isn’t strong enough for hardened epoxy. For small spills, acetone or citrus-based solvents are more effective. Larger projects often require commercial-grade epoxy removers for reliable results.
Do you need special safety gear for this process?
Yes. Wear nitrile gloves, goggles, and a respirator to protect against harsh solvents. Ensure proper ventilation, especially when working with chemical-based products indoors.
Will epoxy removal damage concrete surfaces?
Aggressive scraping or high heat can scratch or discolor concrete. Test methods on a small area first. Use plastic scrapers for delicate surfaces and avoid open flames near flammable solvents.
How long does it take to remove epoxy from countertops?
Time depends on the epoxy’s age and removal method. Small spills may take 15–30 minutes with solvents. Larger areas or cured resin might require hours of scraping, heating, and reapplying removers.
Can you reuse tools after epoxy removal?
Metal scrapers or putty knives can be cleaned with solvents. Discard disposable cloths or plastic tools soaked in epoxy residue. Always rinse reusable items thoroughly before storage.
Are heat guns safe for epoxy removal on concrete?
Heat guns soften epoxy effectively but use low settings to avoid scorching surfaces. Keep the tool moving and pair with scraping for faster results. Never leave heat unattended on flammable materials.
What’s the best way to prevent epoxy stains in the future?
Apply a sealant to concrete countertops before epoxy projects. Clean spills immediately with acetone, and use drop cloths to protect surrounding areas during application.


