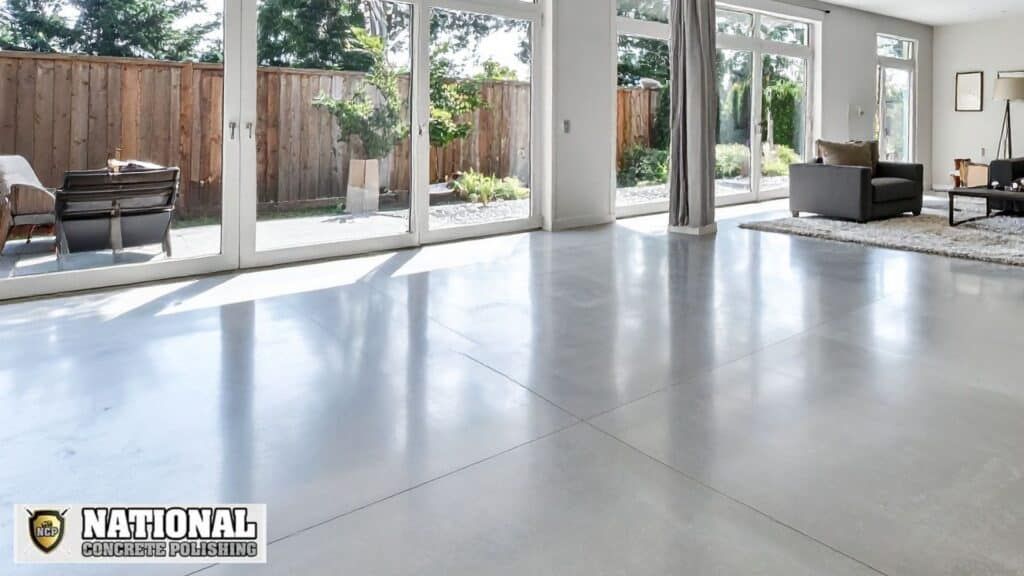
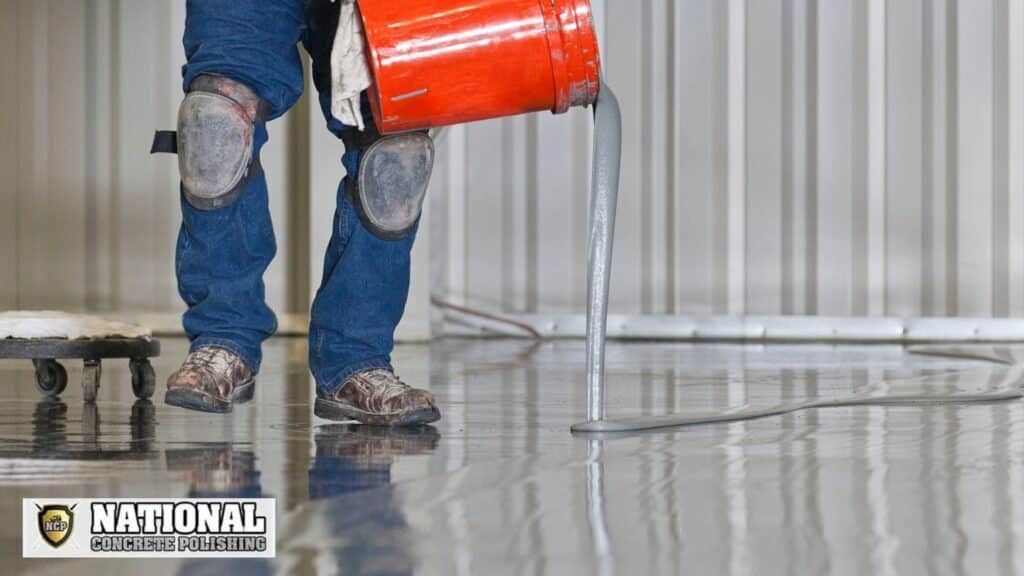
Why Concrete Floor Preparation Is Critical for Epoxy Coatings
Did you know nearly 9 out of 10 epoxy installations develop cracks or peeling within two years when applied over poorly prepared surfaces? That shiny, industrial-grade finish you desire depends entirely on what lies beneath.
Surfaces might look smooth to the naked eye, but microscopic pores trap dust, oils, and moisture. These invisible threats create weak bonds between materials. Temperature shifts worsen the problem – expanding and contracting surfaces stress improperly adhered layers.
Specialists at National Concrete Polishing in South Florida use diamond grinders to open pores and remove contaminants. This process creates texture for mechanical bonding , allowing coatings to grip like Velcro. Without this step, even premium products peel under foot traffic or chemical spills.
Key Takeaways
- Surface imperfections invisible to the eye sabotage coating adhesion
- Temperature changes accelerate wear on poorly bonded layers
- Mechanical grinding creates essential texture for lasting bonds
- Professional methods remove contaminants standard cleaning misses
- Proper foundation work triples average coating lifespan
Your floor’s long-term performance depends on these crucial first steps. Cutting corners here leads to costly reworks, while thorough preparation ensures decades of maintenance-free service.
The Impact of Concrete Preparation
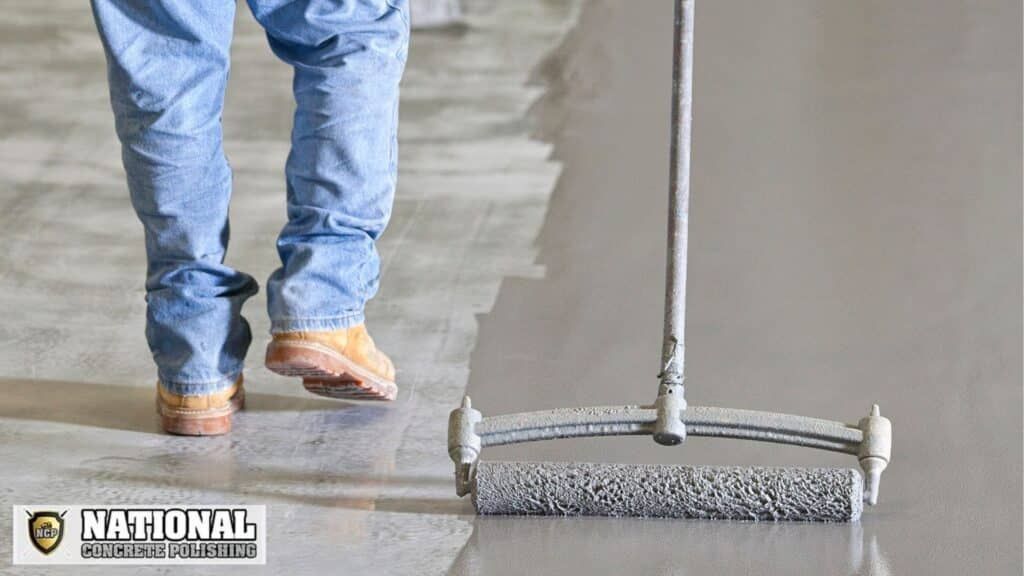
Over 70% of coating failures stem from overlooked flaws in the substrate. Proper evaluation of your base material determines whether epoxy bonds securely or peels prematurely. Three critical factors demand attention before any coating touches the ground.
Identifying Surface Imperfections and Cracks
Walk the area with bright lighting to spot hairline fractures and uneven textures. Structural cracks wider than 1/8 inch often signal shifting foundations requiring professional repair. Use chalk to mark all defects, including spalling areas where aggregate becomes exposed.
Document each imperfection’s location and dimensions. Shallow chips under 1/4 inch depth can be filled with polymer-modified cement, while deeper damage may need hydraulic patching compounds. Always address these issues before proceeding.
Addressing Moisture and Contaminant Challenges
Conduct a plastic sheet test : tape a 2×2 ft polyethylene square to clean surfaces for 24 hours. Condensation under the sheet reveals hidden moisture needing mitigation. High humidity levels require vapor barriers or breathable coatings.
Chemical contaminants like motor oil or solvents create invisible barriers. Apply pH-neutral cleaners for organic stains and industrial degreasers for petroleum residues. Pressure washing alone won’t remove deeply embedded particles – mechanical scrubbing completes the job.
Step-by-Step Guide to Preparing Your Concrete Floor
Properly transforming your garage or workspace starts with methodical surface work. Follow these professional steps to create a foundation that maximizes coating performance and longevity.
Assessing Your Floor’s Condition
Begin with a thorough inspection under bright lighting. Look for hairline cracks, oil stains, and uneven areas. Measure gaps deeper than 1/4 inch – these need specialized repair compounds. Document findings with photos for reference during repairs.
Effective Cleaning and Repair Techniques
- Clear Debris: Sweep then vacuum to remove loose dirt. This prevents contamination during wet cleaning.
- Deep Clean: Apply industrial degreaser using a stiff-bristle brush. Let it sit 10 minutes before rinsing with pressurized water.
- Treat Stubborn Stains: Use solvent-based cleaners on persistent marks. Repeat until surfaces show uniform color.
- Fix Structural Issues: Fill cracks with polymer-modified cement. Feather edges smooth for seamless transitions.
Allow 48 hours drying time before coating application. Test moisture levels by taping plastic sheeting to the surface overnight – condensation means you need more drying time. Proper execution of these steps ensures your cleaning process removes invisible barriers that sabotage adhesion.
Why concrete floor preparation is critical for epoxy flooring
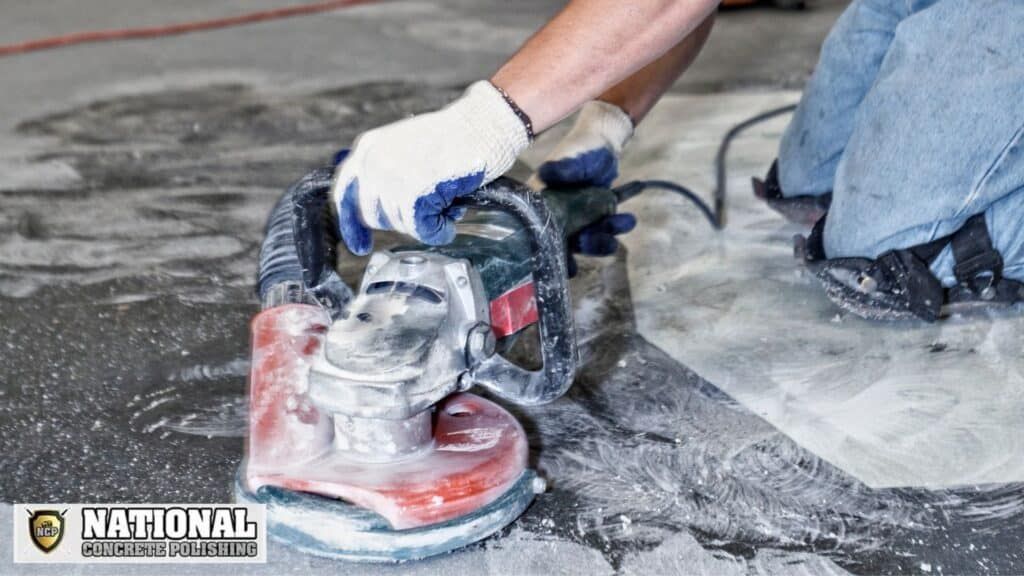
Think of your garage’s foundation like a house – without proper structural work, even the best materials won’t last. Creating the right texture determines whether coatings bond securely or fail prematurely.
Etching and Creating a Suitable Surface Profile
Surface profiling transforms slick areas into receptive canvases. The International Concrete Repair Institute measures texture using CSP ratings from 1 (glass-smooth) to 10 (rocky terrain). Most epoxy systems need CSP 3 – imagine fine sandpaper.
| CSP Level | Texture Description | Best Applications |
|---|---|---|
| 1 | Nearly flat | Thin sealers |
| 3 | Light roughness | Epoxy floors |
| 5 | Moderate grooves | Industrial coatings |
| 8 | Aggressive texture | Outdoor pavers |
Acid etching uses muriatic solutions to eat away weak layers. Professionals neutralize residues thoroughly to prevent future bubbling. This method works well for newer slabs with minimal damage.
Benefits of Proper Grinding for Long-Lasting Adhesion
Diamond grinders outperform etching in older spaces. They shave off 1/16” of material, exposing fresh aggregate. This creates microscopic “teeth” that lock coatings in place.
Mechanical grinding offers three advantages:
- Removes oil stains etching can’t penetrate
- Levels uneven surfaces automatically
- Creates consistent texture across large areas
Garage floors endure heavy abuse – proper profiling adds 5-7 years to coating life. Invest time here, and you’ll avoid costly reworks later.
Professional Techniques and Equipment for a Durable Finish
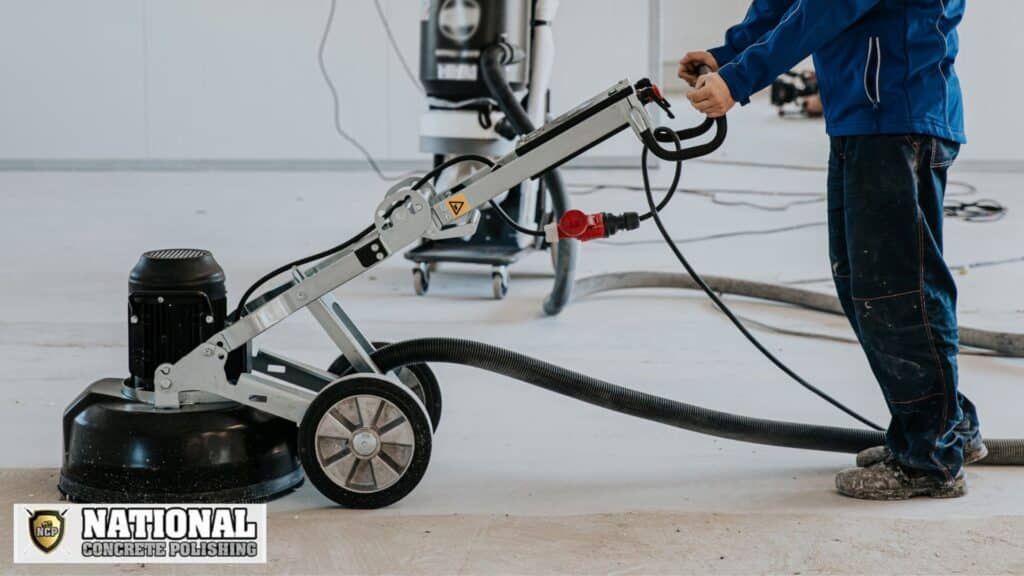
Industrial-grade tools transform ordinary surfaces into epoxy-ready foundations that last decades. Contractors rely on specialized systems to achieve surface profiles that resist peeling and wear.
Utilizing Propane Grinders and Other Specialized Tools
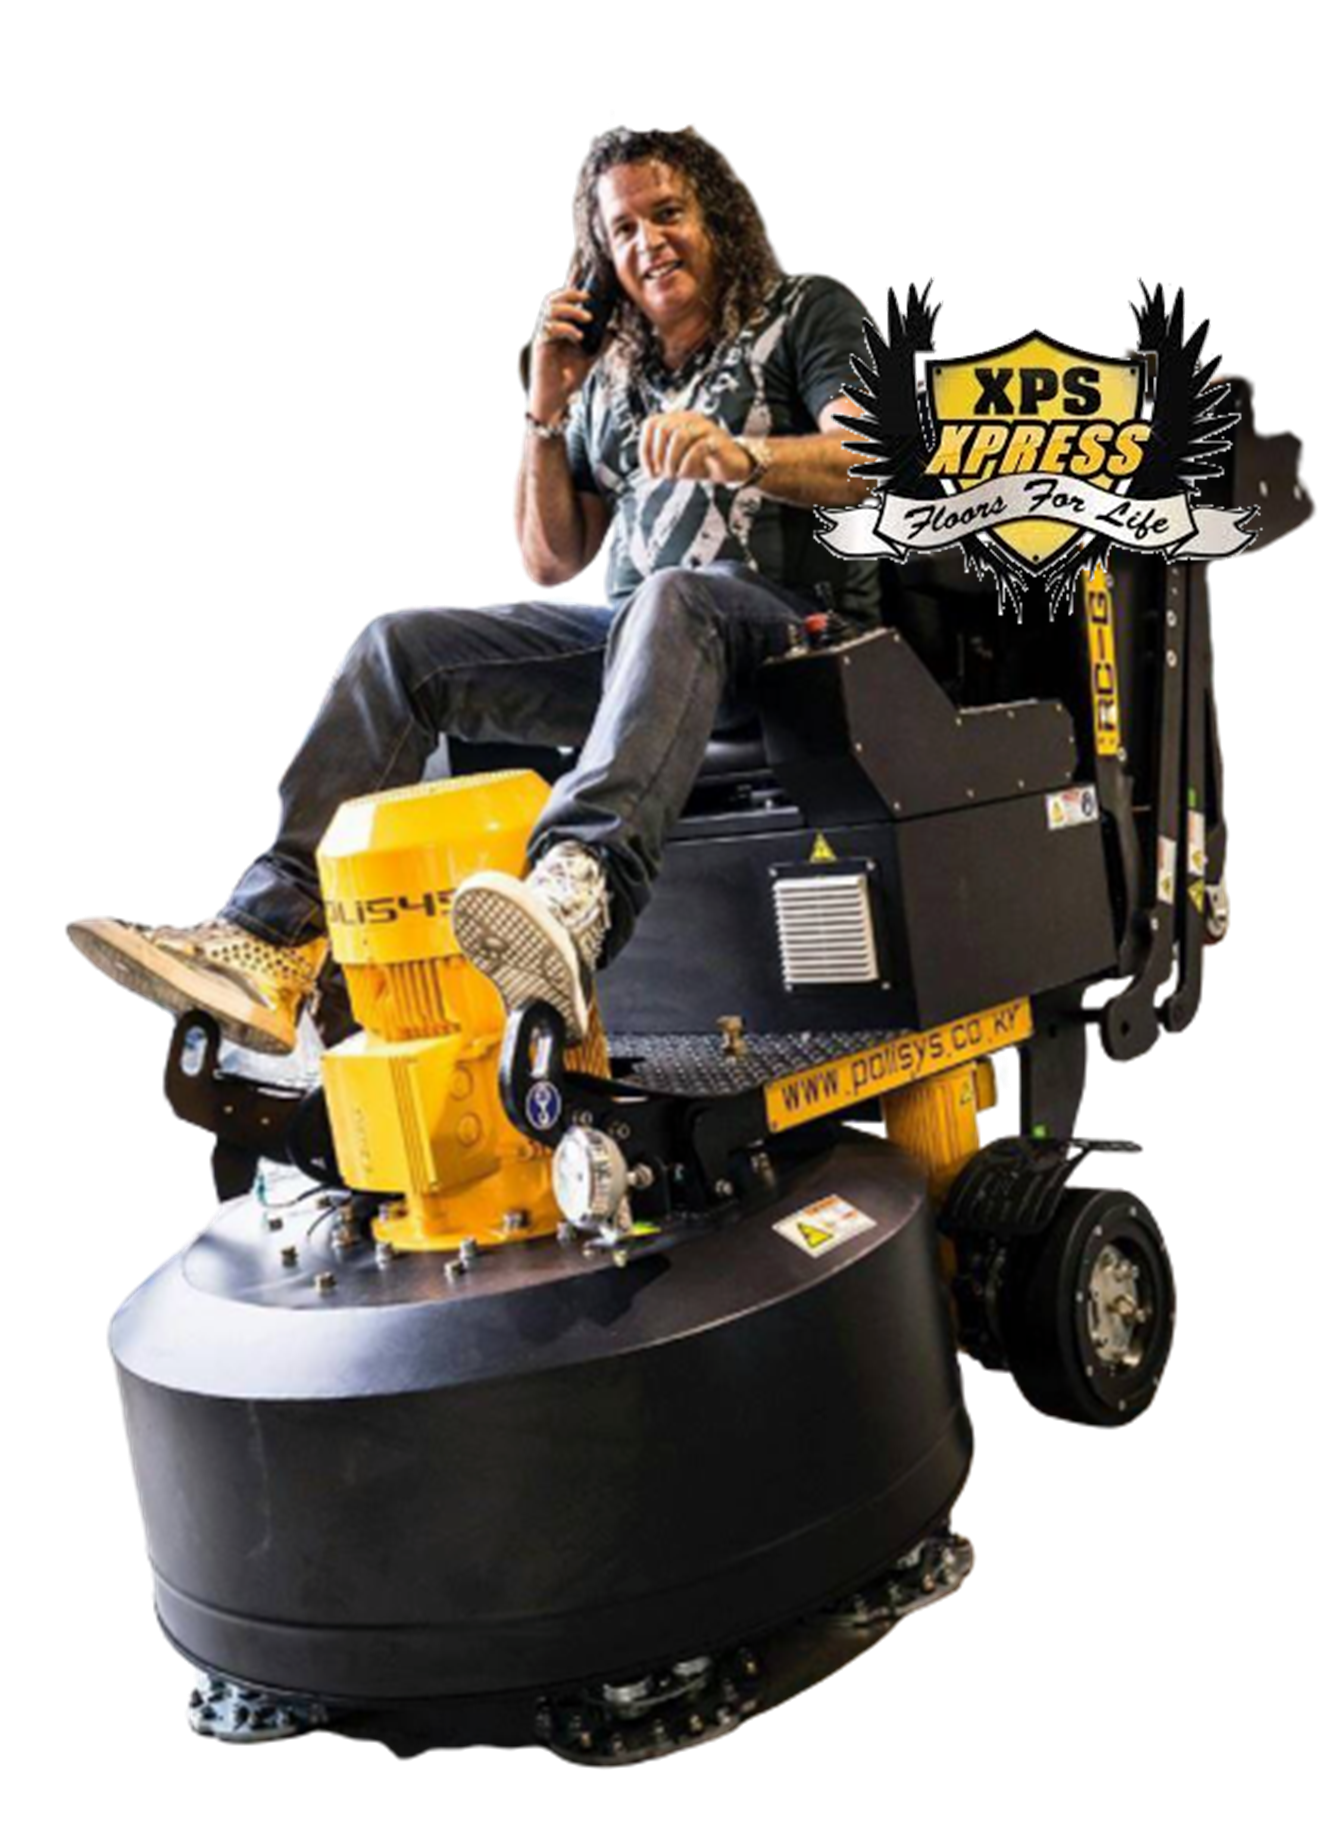
Propane-powered grinders outperform standard models in large spaces. These machines maintain constant torque, chewing through old coatings and uneven textures without power fluctuations. Their cordless design allows technicians to work around columns and tight corners effortlessly.
Key advantages include:
- 30% faster material removal than electric units
- Zero emissions for indoor use
- Consistent depth control across 10,000+ sq ft areas
Wet grinding systems tackle dust at the source. A thin water layer traps particles while cooling diamond-tipped blades. This method prevents hazardous airborne silica and keeps workspaces clean.
Professionals combine three tool types for optimal results:
- Diamond grinders for precise profile creation
- Shot blasters removing stubborn contaminants
- Scarifiers leveling severely damaged surfaces
Quality checks verify surface porosity using chemical tests. Technicians document each stage, ensuring your floor coating meets manufacturer specifications. This meticulous approach adds 5-7 years to epoxy flooring performance compared to DIY methods.
Conclusion
The secret to enduring epoxy floors lies beneath the surface. Proper groundwork transforms ordinary slabs into resilient foundations that outlast standard installations. Through systematic evaluation, deep cleaning, and precision profiling, you create the ideal canvas for coatings that withstand heavy use.
Investing in meticulous surface work pays dividends. Durable finishes require contaminant-free bases with optimal texture for adhesion. This process eliminates future headaches like peeling or bubbling, ensuring your flooring solution maintains its luster for years.
Professional execution makes the difference. National Concrete Polishing serves South Florida with industrial-grade equipment and proven methods. Their team removes guesswork, delivering surfaces ready for flawless epoxy application.
Ready to elevate your space? Call +1 877-661-7562 today. Discover how expert preparation creates flooring that combines beauty with unmatched longevity – the hallmark of truly professional results.
FAQ
What happens if you skip surface preparation before applying epoxy?
Skipping steps like grinding or etching leaves dirt, dust, and contaminants trapped. This weakens adhesion, causing peeling or bubbling. Proper prep ensures coatings bond tightly for long-term durability.
How do cracks affect epoxy flooring performance?
Untreated cracks collect debris and moisture, undermining the coating’s integrity. Repairing them with fillers or sealants prevents further damage and creates a smooth foundation for even application.
Can moisture ruin an epoxy finish after installation?
Yes. Excess water vapor or trapped dampness causes delamination. Testing with a moisture meter and using vapor barriers or sealers ensures the surface stays dry, protecting your investment.
Why is grinding better than acid etching for garage floors?
Grinders like Husqvarna or Diamabrush remove stubborn stains and create a uniform surface profile. Acid etching often leaves residue and uneven textures, risking poor adhesion in high-traffic areas.
How long does the preparation process typically take?
Time varies based on floor size and condition. Small garage floors might take 4–6 hours, while larger commercial spaces require 1–2 days. Proper cleaning, repairs, and drying are essential before coating.
Do you need professional tools for DIY epoxy projects?
While rental equipment like propane grinders ensures deeper cleaning, handheld diamond grinders work for small jobs. Specialized tools remove imperfections efficiently, but protective gear is mandatory to avoid dust exposure.


