Why Glitter Epoxy Floors Are the Perfect Mix of Beauty and Strength
Imagine walking into a room where light dances across surfaces, creating a welcoming glow that adapts to every hour. Modern design solutions now let you achieve this magical effect while building surfaces that withstand daily demands. These innovative installations blend artistry with engineering, offering surfaces that sparkle without sacrificing practicality.
Property owners across the U.S. are discovering surfaces that outlast traditional options while adding personality to homes and businesses. The secret lies in specialized materials that bond permanently with existing structures, forming seamless protection against spills and heavy use. Unlike fragile finishes that wear quickly, these systems maintain their brilliance through years of activity.
Customization options let you choose subtle shimmer or bold metallic accents to match your vision. Morning sunlight reveals different details than evening lamps, creating dynamic environments that feel alive. Trusted professionals use advanced techniques to ensure your surface becomes a lasting investment rather than a temporary upgrade.
Key Takeaways
- Combines eye-catching design with industrial-grade durability
- Customizable finishes adapt to any interior style
- Simplifies cleaning while resisting stains and wear
- Reflective particles create changing light effects
- Professional installation ensures long-term performance
Introduction to Glitter Epoxy Floors
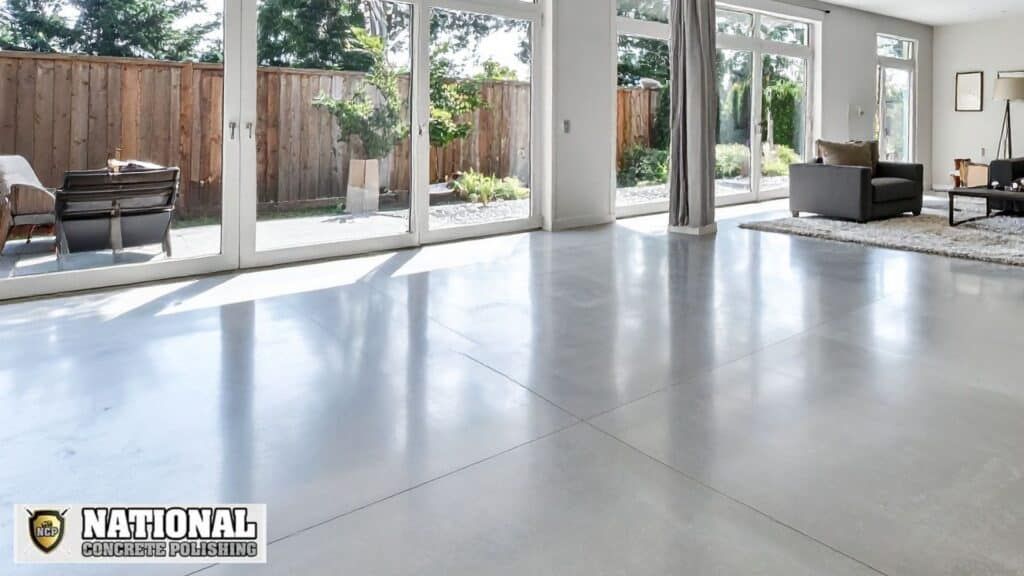
Transform your space with surfaces that balance visual charm and rugged performance. Modern decorative solutions now deliver both style and substance, offering finishes that endure daily challenges while elevating interior designs. These systems merge creative expression with scientific precision, creating installations that stand up to life’s demands.

Where Style Meets Substance
Specially formulated coatings integrate decorative elements into industrial-strength materials. The result? Surfaces that repel spills, scratches, and heavy foot traffic while maintaining their luminous quality. You’ll find these installations in everything from boutique stores to busy garages , proving their adaptability across environments.
Science Behind Lasting Brilliance
Advanced resin technology forms impenetrable barriers against moisture and contaminants. Unlike traditional options, these seamless applications eliminate grout lines where dirt accumulates. Three key advantages set them apart:
- Light-reflecting particles create depth and movement under changing lighting
- Non-porous structures block microbial growth and chemical damage
- Customizable designs work with existing architectural features
Maintenance becomes effortless thanks to stain-resistant properties. A simple sweep and occasional damp mop keep surfaces looking new for years. Whether refreshing a home entryway or upgrading a commercial lobby, these finishes offer practical elegance that evolves with your needs.
The glitter epoxy floor Process

Creating surfaces that catch the eye involves more than sprinkling shiny bits into resin. Experts use physics to make every angle count, transforming ordinary rooms into radiant spaces. The magic happens when specialized materials interact with illumination sources to produce dynamic visual effects.
How Light and Glitter Create a Sparkling Effect
Professionals layer reflective particles at precise angles within the coating. This strategic placement allows surfaces to bounce illumination in multiple directions. Smaller particles work best in low-light areas, while larger flakes shine under direct beams.
Metallic additives amplify this interaction, creating depth that flat paints can’t match. During application, technicians adjust densities to control intensity. A light scatter offers gentle radiance, while dense clusters make bold statements.
| Particle Size | Lighting Condition | Visual Effect |
|---|---|---|
| Small (0.5mm) | Indirect daylight | Subtle shimmer |
| Medium (1mm) | Overhead fixtures | Balanced glow |
| Large (2mm) | Spotlights | Dramatic flashes |
The curing stage locks particles in optimal positions for lasting performance. This technique ensures morning sun reveals different details than evening lamps. Proper execution makes spaces feel energized while simplifying upkeep through seamless, non-porous surfaces.
Essential Materials and Preparation Tips
Successful installations begin with proper planning and premium components. Choosing the right tools and following precise preparation steps determine whether your project shines or falters over time.
Gathering Quality Supplies
Two-part coating systems form the backbone of durable installations. Look for kits containing specialized primers and topcoats designed to bond chemically. Professional-grade rollers and angled brushes prevent streaks, while mixing tools ensure proper resin activation.
Water-based sealants offer superior clarity compared to oil-based alternatives. Chunky decorative additives require specific application techniques to avoid clumping. Always verify product compatibility between base layers and finishing coats.
Proper Surface Readiness
Concrete substrates demand meticulous cleaning before any application. Start by scrubbing oil stains with industrial degreasers and patching cracks with hydraulic cement. A diamond grinder creates the ideal texture for coating adhesion.
Environmental controls prove crucial during the job. Maintain temperatures between 60-85°F and humidity below 65% for proper curing. Use respirators and ventilation fans when working with solvent-based products.
| Preparation Step | Essential Tool | Key Benefit |
|---|---|---|
| Grease Removal | Acid etcher | Opens concrete pores |
| Crack Repair | Polyurethane filler | Prevents future damage |
| Surface Profiling | Shot blaster | Enhances coating grip |
Stage all materials within easy reach before mixing components. Epoxy resins begin hardening immediately after combining parts A and B. Work in small sections to maintain a “wet edge” for seamless blending.
Step-by-Step Guide to Creating Your Glitter Epoxy Floor
Achieving a flawless finish requires precision and the right techniques. Let’s break down the process into manageable stages for professional results.
Mixing and Applying the Epoxy Coating
Start by combining the two-part resin system according to manufacturer ratios. Stir vigorously for 3-5 minutes until streaks disappear. Use a quality brush to cut in edges, then switch to a short-nap roller for open areas. Work in 4×4-foot sections to maintain wet edges and prevent uneven curing.
Incorporating Glitter for an Even, Mesmerizing Finish
Timing matters when adding decorative particles. Wait 20-30 minutes after spreading the base layer until it’s tacky but not fully set. Professionals use the three-finger pinch method – sprinkling material from 18 inches above the surface. Rotate around the room twice for consistent density.
Apply two protective topcoats after the first layer cures. Maintain 70°F temperatures during drying for optimal hardness. Allow 48 hours before light use and 72 hours for heavy furniture. Regular inspections during curing help spot potential issues early.
Design Inspiration and Customization Options for Your Space

Your environment becomes a canvas when combining vibrant hues with functional design elements. Modern coating systems let you pair reflective accents with rich base tones, transforming ordinary areas into striking visual experiences. From subtle earth tones to electric neon blends, these solutions adapt to your creative vision.
Exploring Color Combinations and Patterns
Designers often layer metallic particles over contrasting base shades for maximum impact. A navy background with gold flecks creates nautical themes perfect for coastal restaurants, while emerald green paired with copper adds warmth to boutique retail spaces. Consider these popular pairings:
| Base Color | Accent Choice | Best For |
|---|---|---|
| Charcoal Gray | Silver Metallics | Modern garages |
| Terracotta | Bronze Flakes | Mediterranean kitchens |
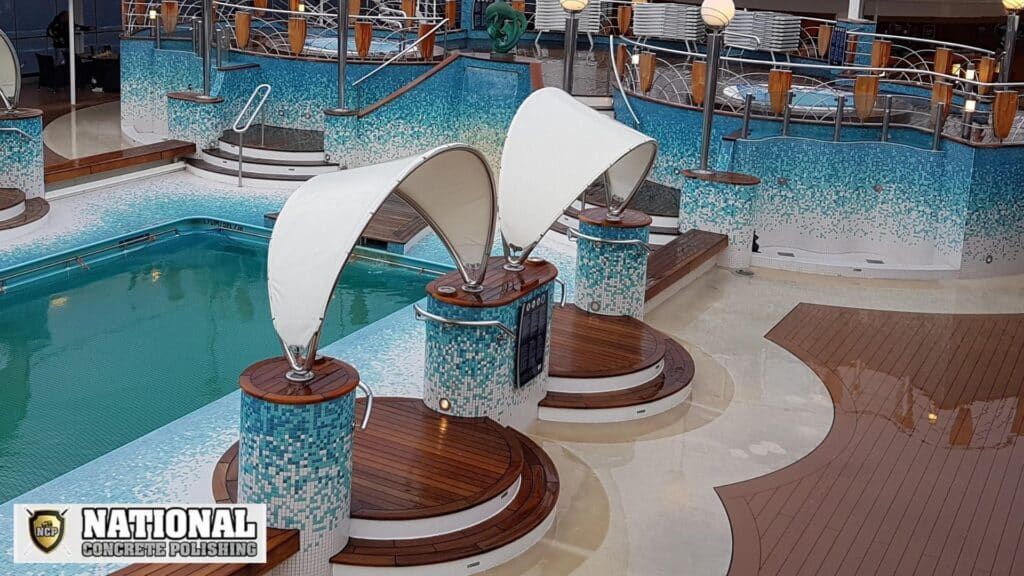
| Royal Blue | White Chips | Poolside patios |
Pattern integration takes customization further. Geometric borders define entertainment zones in open-concept homes, while directional stripes guide foot traffic in commercial lobbies. Themed installations like checkerboard motifs energize game rooms, and corporate logos embedded near entrances reinforce brand identity.
Ideas for Residential, Commercial, and Garage Settings
Homeowners often choose muted gold particles over slate gray bases for entryways that complement wooden furnishings. In garages, deep black coatings with silver accents hide tire marks while creating showroom-worthy displays for vehicle collections.
Restaurants benefit from warm amber tones mixed with copper flakes under dining tables, enhancing intimate atmospheres. Industrial facilities use color-coded pathways – safety yellow particles mark forklift routes against dark gray backgrounds. Every space gains personality through strategic color selection and decorative detailing.
About National Concrete Polishing and Their Expertise
South Florida properties demand solutions that withstand tropical climates while enhancing visual appeal. National Concrete Polishing brings 15+ years of specialized experience transforming surfaces across Miami-Dade and Broward counties. Their team combines technical precision with artistic vision to deliver lasting results.
Innovative Techniques Tailored for South Florida
Using industrial-grade polyester additives, technicians create surfaces resistant to humidity and salt air. Their proprietary process incorporates ultra-fine (0.008mm) and chunky (0.040mm) particles that bond securely within coatings. This approach prevents fading and peeling common with standard methods.
FAQ
What makes this type of coating ideal for high-traffic areas?
Its durable resin base resists scratches, stains, and moisture while maintaining a vibrant appearance. The blend of strength and visual appeal works well in garages, retail spaces, or busy homes.
Can you customize colors to match existing decor?
Yes! Choose from metallic shades, bold hues, or subtle neutrals. Mix additives like gold flakes or iridescent particles for a personalized touch that complements your style.
How long does the installation process take?
Projects typically require 2–3 days, including prep, application, and curing. Factors like room size, design complexity, and drying conditions may affect timelines.
Is professional help necessary for a flawless result?
While DIY kits exist, experts like National Concrete Polishing ensure proper adhesion, even glitter distribution, and a smooth finish. Their South Florida team uses advanced methods to avoid bubbles or uneven textures.
What maintenance ensures longevity?
Sweep regularly and mop with pH-neutral cleaners. Avoid abrasive tools or harsh chemicals. A topcoat of polyurethane every few years can refresh the surface’s shine.
Are these surfaces slip-resistant?
Additives like anti-slip granules can be mixed into the final layer for safer walkways. Discuss options with your installer to balance safety and aesthetics.
Can this material withstand extreme temperatures?
Yes—it’s heat-resistant and performs well in humid climates. However, direct sunlight may cause slight fading over time. UV-stable coatings are available for sunlit rooms.
How does cost compare to traditional tiles or polished concrete?
Initial expenses are higher than basic options, but lower long-term upkeep and decades of use make it cost-effective. Custom designs may increase pricing.
You might also like